At Home Charcuterie Board
Written by Ballzer on May 4, 2021
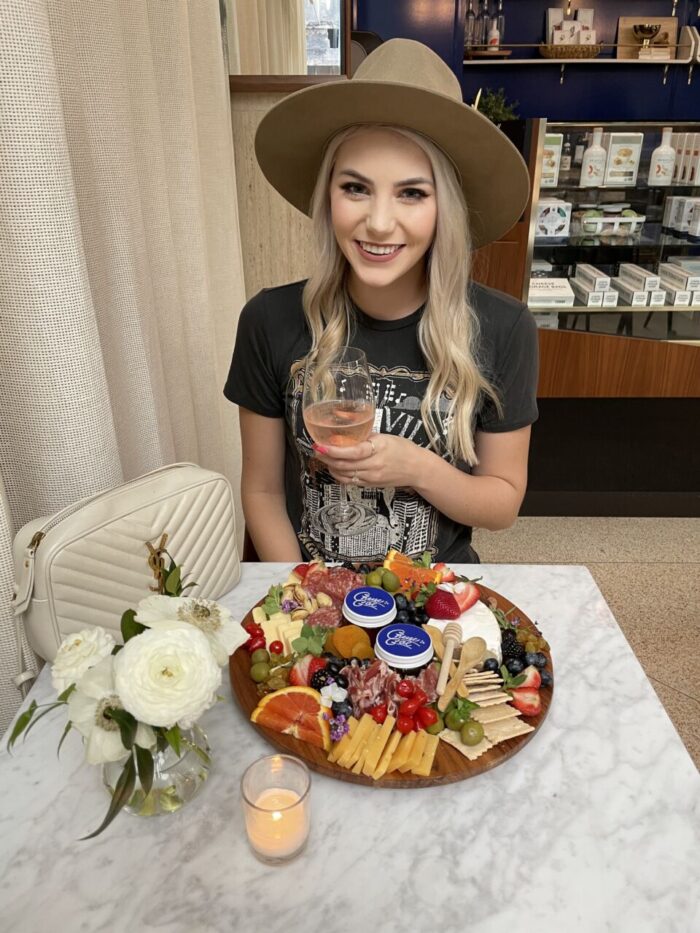
One of Noah and I’s favorite things to do is snack on a delicious charcuterie board and sip some wine! We recently traveled to Nashville and made a stop at Cheese Gal. I have been following Cheese Gal on Instagram for some time and have always wanted to experience one of their delicious cheese boards! Courtney, the owner of Cheese Gal, makes not only the most delightful charcuterie boards, but they are a work of art! I have never seen a more beautiful charcuterie board. I will post some photos below of the delicious charcuterie board we had. We even picked up some honey and sourdough crackers to take home! The best part about the honey is that it not only was some of the most delicious honey I have ever tasted, but it came with a booklet on how to make your own charcuterie board.
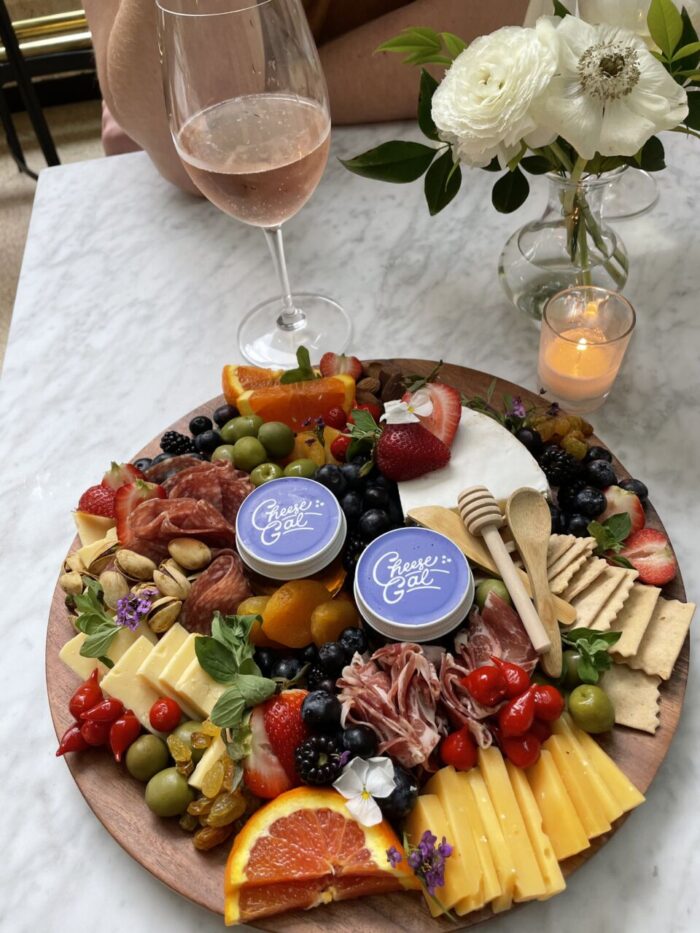
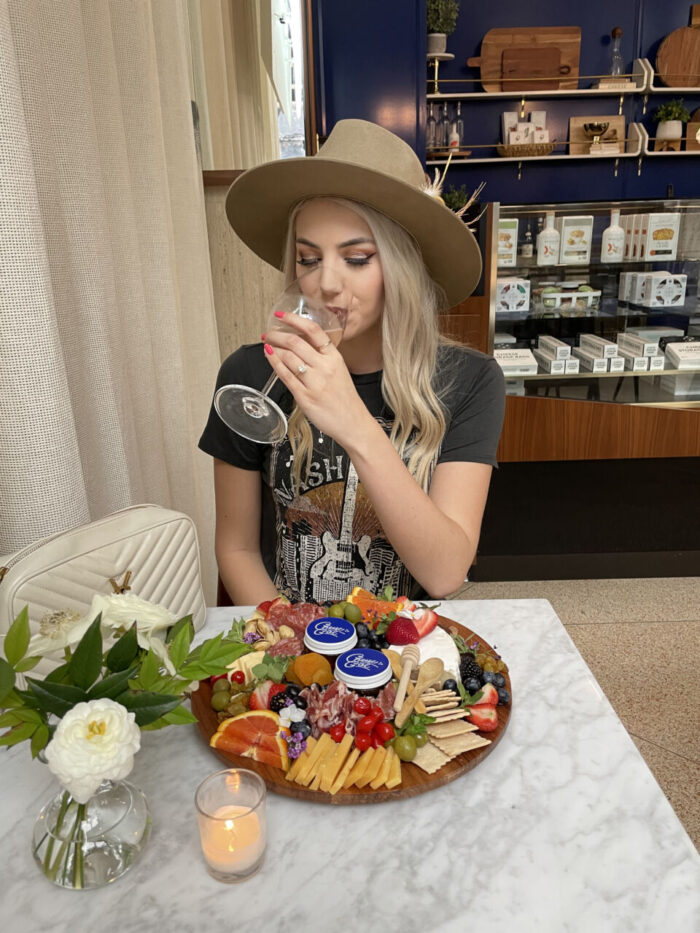
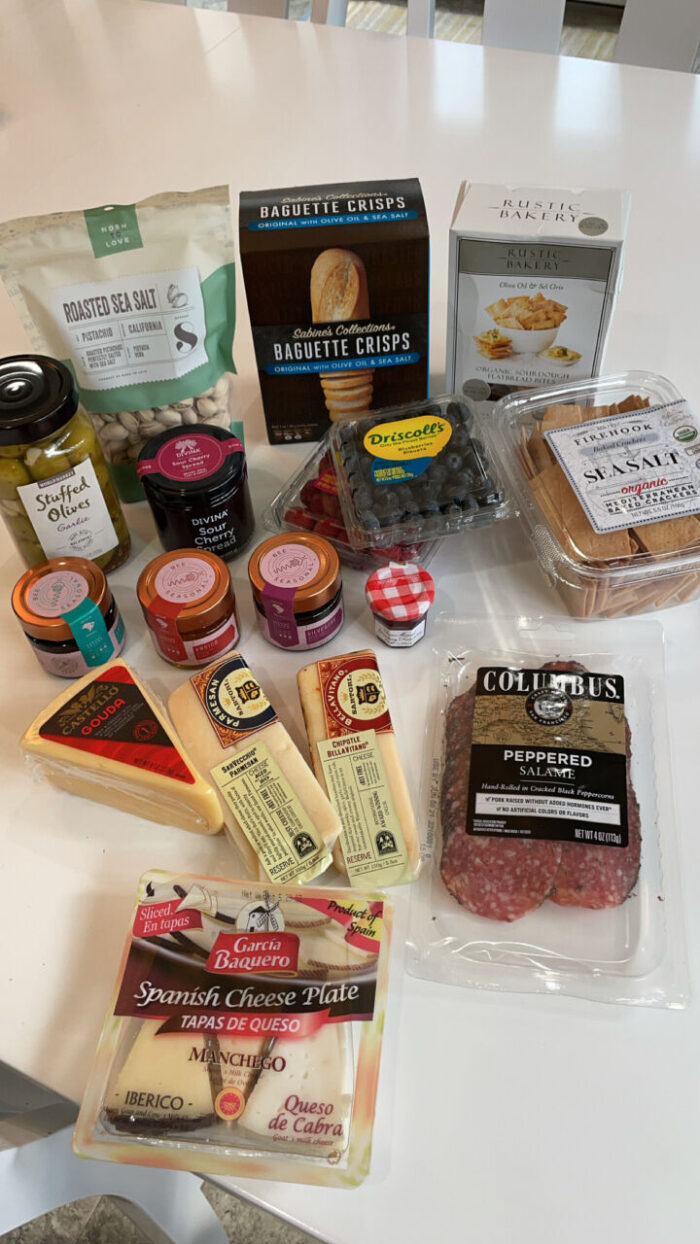
When Noah and I got home from Nashville, we stopped at some local shops and picked up local cheese, salami, olives, fruits, nuts, and we went home and made our own board! It was honestly so much fun, and I was pleasantly surprised at how it tuned out. I wanted to show you how I built my charcuterie board with the help of the owner of Cheese Gal’s instructions!
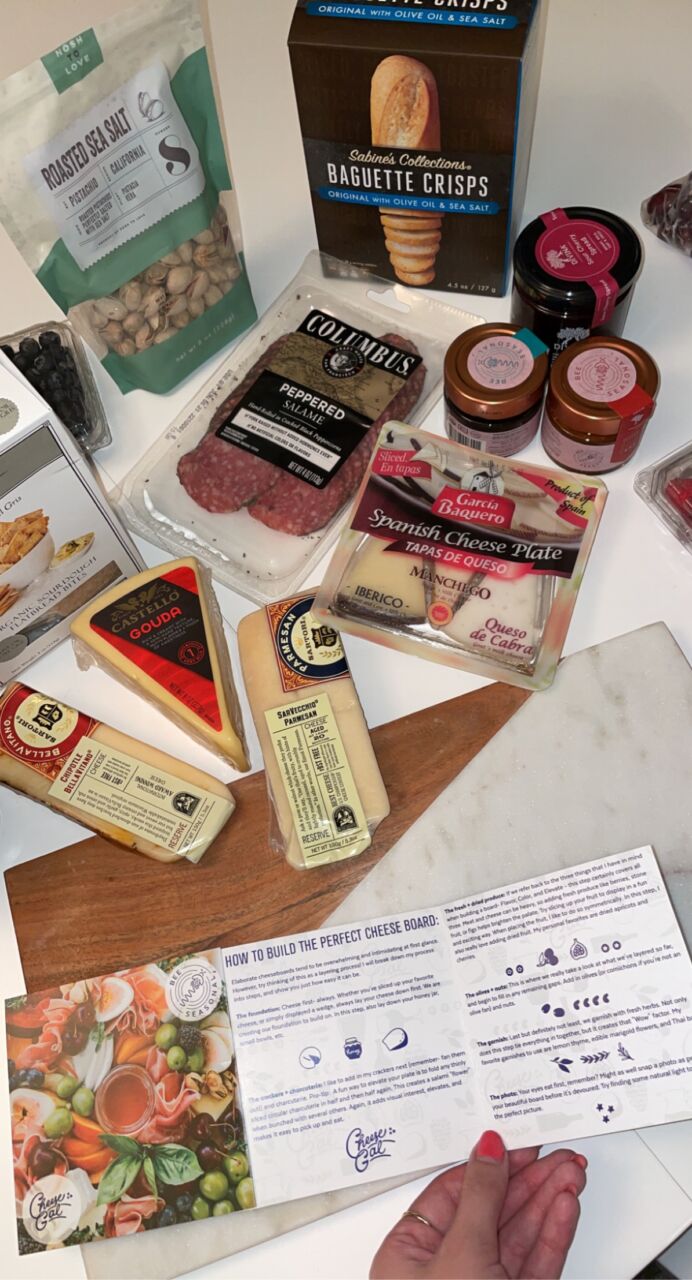
Step 1- Foundation
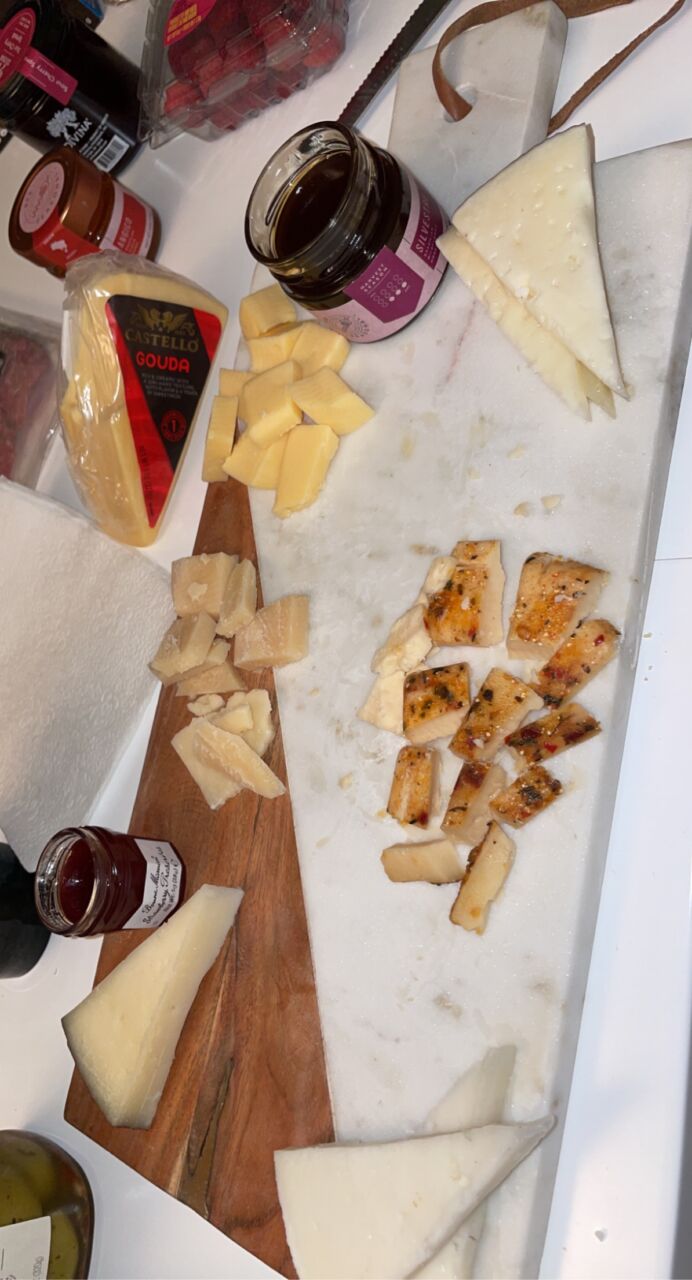
Step 2- Crackers & Charcuterie
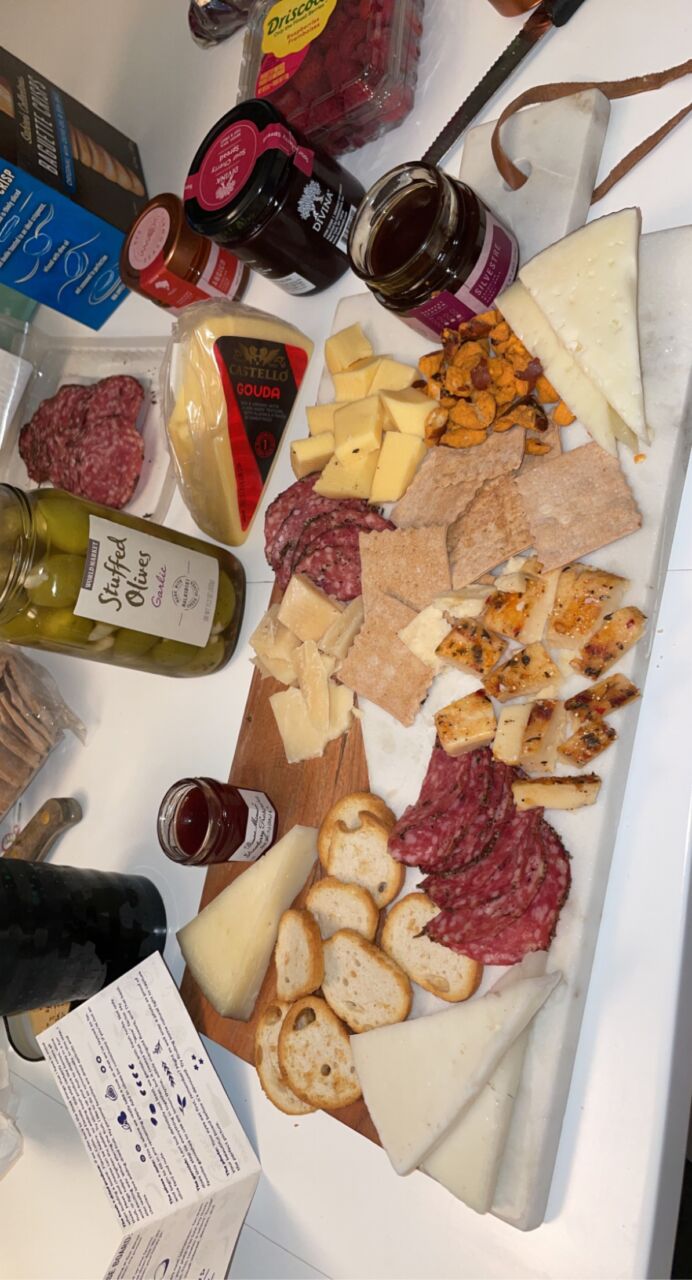
Step 3- Fresh + Dried Produce
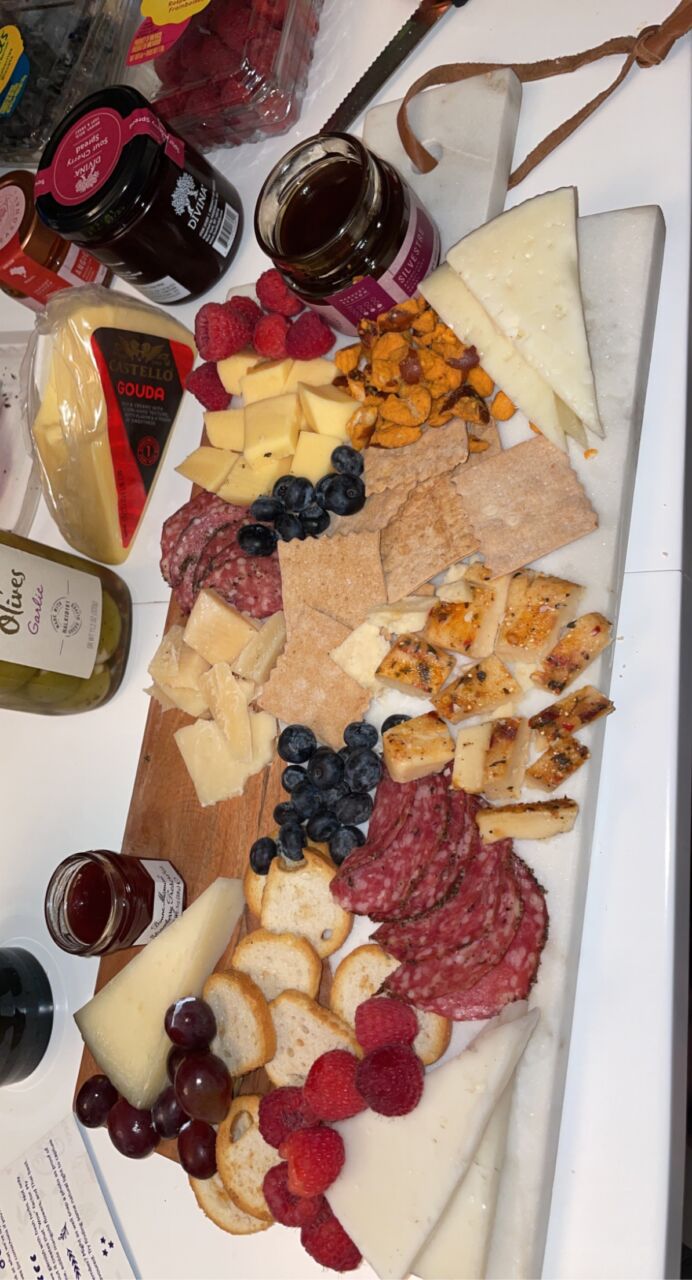
Step 4- Olives & Nuts
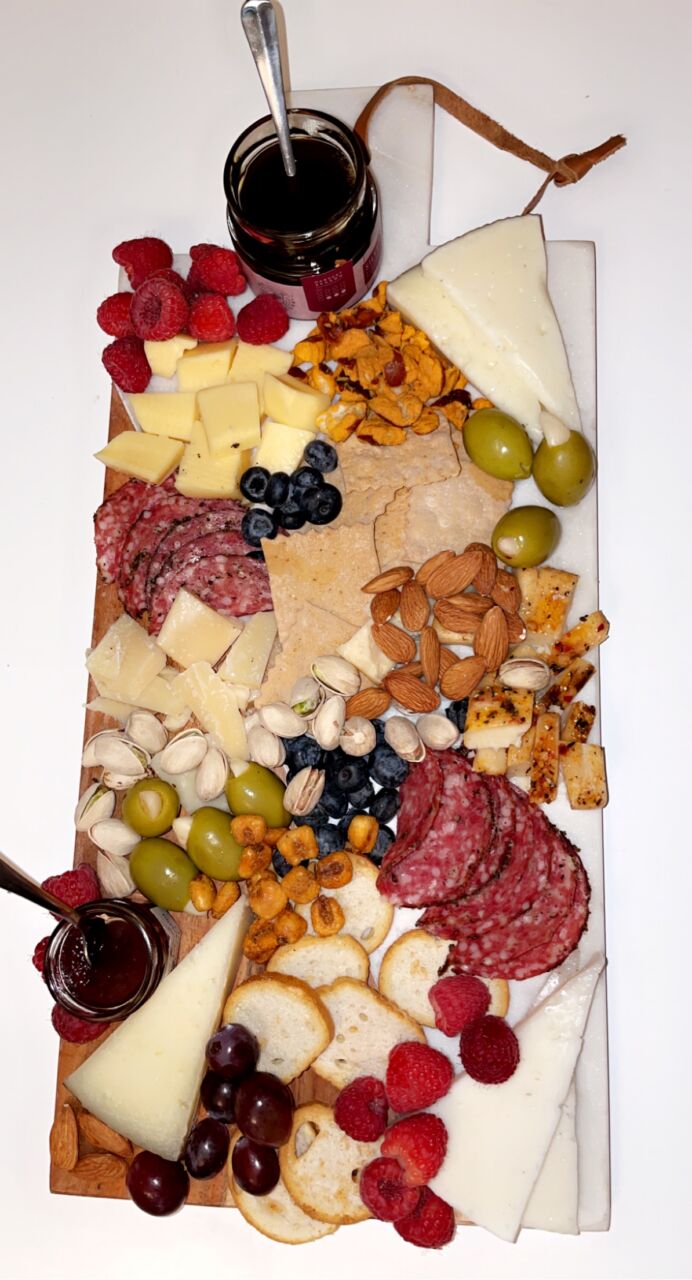
Step 5- Garnish & Take Photos
This last step is optional! I think what makes Cheese Gal’s boards so beautiful is the final step of adding fresh herbs and flowers. It gives the board that “Wow” factor. And of course, taking photos when your all complete is optional, but for me, it’s a must!
